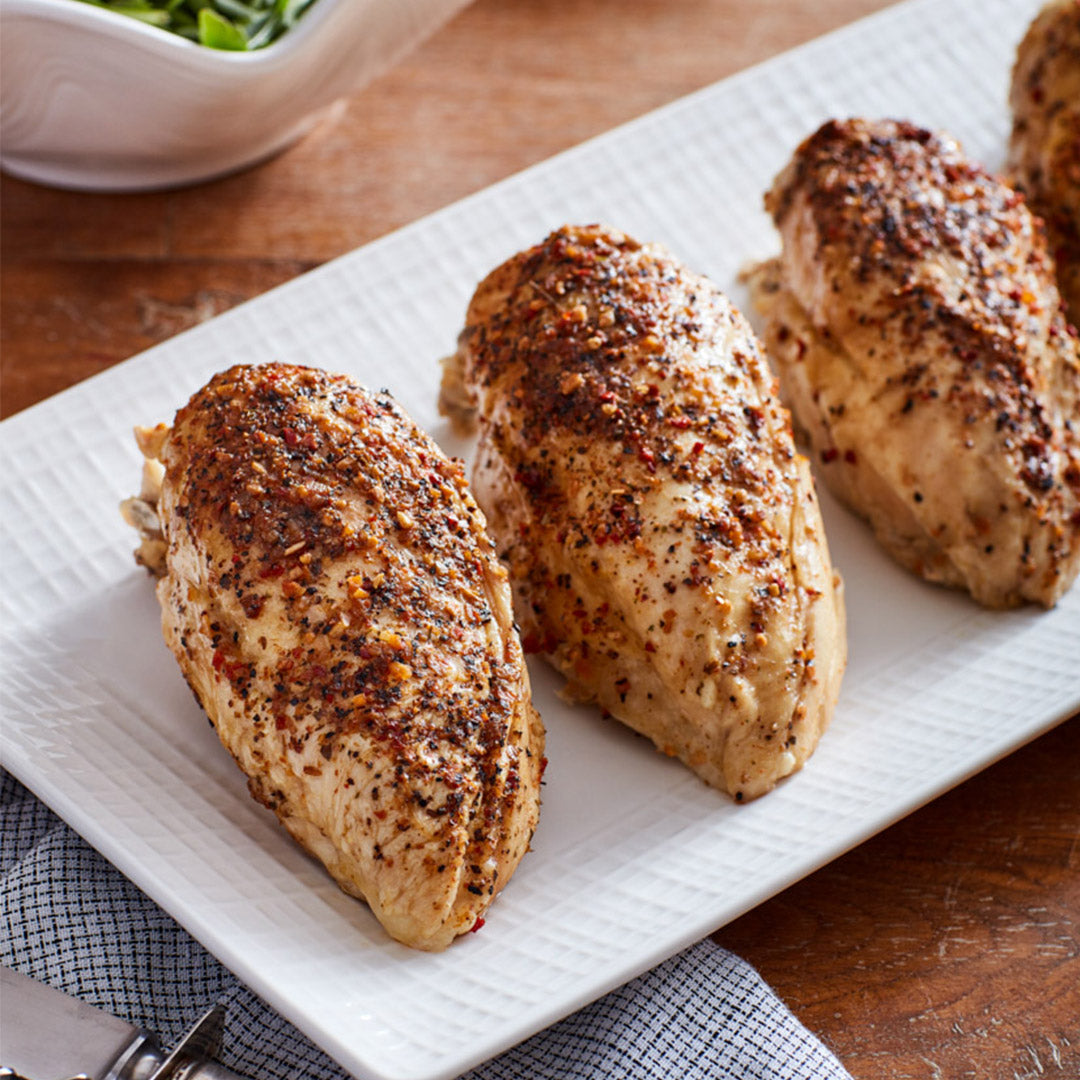
Road Map: Bone-In Chicken Breasts

By:

Road Map: Bone-In Chicken Breasts
Unlike boneless breasts, bone-in chicken breasts are thicker and thus benefit from being set down in the liquid in the pot (rather than up on a rack or in a steamer). You’ll use less liquid here than with our technique for boneless skinless breasts because these breasts will thaw and release water and other liquid into the pot as they cook.Because of the way the bones add a distinct depth of flavor to the meat, bone-in chicken breasts are a great choice if you want to debone and chop the meat for chicken salad and pasta salad, or to slice the meat for sandwiches. Be forewarned: You must check the internal temperature of the meat with an instant-read meat thermometer. Bone-in breasts have varying thicknesses — and varying amounts of internal moisture depending on whether they’ve been injected with a brining solution. While our timing worked several times in testing, there are safety concerns with eating undercooked poultry. Better safe than sorry. See step 3 for more details on checking the meat’s internal temperature.Finally, to get the skin crisp, transfer the cooked breasts skin side up onto a lipped baking sheet. Set the oven rack about 6 inches from the broiler, heat the broiler, then brown the breasts under it for 1– 2 minutes.
cuisine icon Cuisine
cuisine icon Difficulty
cuisine icon Duration

serving icon Servings
6 servings
Ingredients
  • 1 cup liquid
  • 6 frozen bone‑in skin‑on chicken breasts
  • 2 tbsp dried seasoning blend
  • 1 1/2 tsp table salt
Instructions
  • Pour the liquid into a Instant Pot. Position the bone-in chickenbreasts in the liquid in a crisscross pattern (rather than stacking them ontop of each other) so that steam can circulate among them. Sprinkle thetop of each with 1 tsp dried seasoning blend and 1/4 tsp salt (ifusing). Lock the lid onto the pot.
  • Optional 1 Max Pressure Cooker
    Press Pressure cook on Max pressure for 35 minutes with the Keep Warm setting off.
  • Optional 2 All Pressure Cookers
    Press Poultry, Pressure Cook or Manual on High pressure for 40 minutes with the Keep Warm setting off. (The Valve must be closed)
  • Use the quick-­release method to bring the pot’s pressure back tonormal. Unlatch the lid and open the cooker. Insert an instant-read meatthermometer into the center of a couple of the breasts, without touchingbone, to make sure their internal temperature is 165°F. The meat can be alittle pink at the bone and still perfectly safe to eat, so long as its internaltemperature is correct. If the internal temperature is below 165°F (or ifyou’re worried about the color), lock the lid back onto the pot and give thebreasts 3 extra minutes at MAX, or 4 minutes at HIGH. Again, use thequick-­release method to bring the pot’s pressure back to normal.
  • Use kitchen tongs to transfer the breasts to serving plates or a servingplatter to serve. Or cool them at room temperature for 10 minutes or so,then store in a sealed container in the fridge for up to 3 days.
Notes
  • Beyond
    • For an 8-quart Instant Pot,you must use 1 1⁄2 cups liquid.You can also fit up to eight 12- to 14-ounce bone-in chicken breasts in the larger pot. There is no change in the cooking timing under pressure (although the pot will take longer to come to pressure).
    • If you’ve used water and/or broth, the resulting liquid in the pot is an astounding chicken stock. Don’t throw it out! Save it in a sealed container in the fridge for up to 2 days or in the freezer for up to 3 months. Use it in place of chicken broth in any recipe.
    • Consider making the liquid in the pot a 50-50 split of broth and the brine from a jar of pickles, pepperoncini, or pickled jalapeño rings. In this case, omit the salt. (And the
    remaining liquid in the pot won’t be fit to be used as stock.)
    *Using a –­20°F CHEST FREEZER?
    Cook under pressure in step 2 for 40 minutes on the MAX setting, or for 45 minutes on the HIGH setting, followed by a quick release.
Previous Next