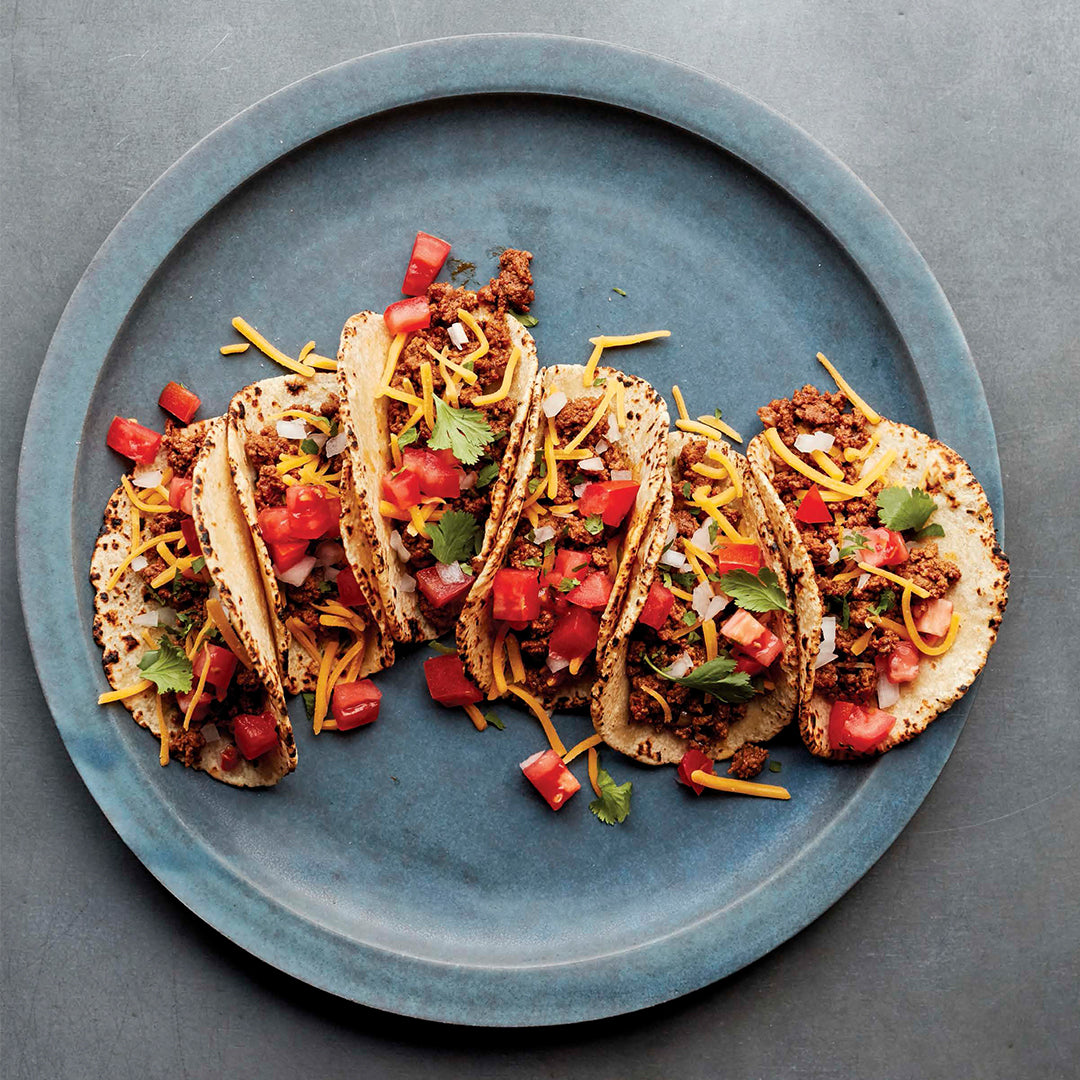
Ground Beef Tacos

By:

Ingredients
  • 1 tbsp avocado oil or other neutral oil with high smoke point
  • 1 extra-large yellow onion
  • 2 garlic cloves
  • 2 lbs lean ground beef
  • 3 tbsp chili powder
  • 2 tsp ground cumin
  • 1 tsp dried oregano
  • 1/2 cup beef broth
  • kosher salt
  • Tortillas or taco shells
  • Chopped romaine lettuce
  • 1 cup shredded Cheddar cheese
  • 2 roma tomatoes
  • 1/2 cup chopped fresh cilantro
  • 2 lbs beef soup bones
  • 3 celery stalks
  • 2 large carrots
  • 1 large yellow onion
  • 1 tsp kosher salt
  • 1/2 tsp black peppercorns
  • 1 bay leaf
  • 8 cups Water
Instructions
  • Select the high Sauté setting on the Instant Pot and heat the avocado oil. Add half of the onion and all of the garlic and sauté for about 3 minutes, until the onion is slightly softened. Add the ground beef and sauté for about 3 minutes more, using a spoon or spatula to break up the meat as it cooks. Stir in the chili powder, cumin, oregano, beef broth, and 1 teaspoon salt. It’s fine if some pink remains; the beef does not have to be fully cooked at this point.
  • Secure the lid and set the Pressure Release to Sealing. Press the Cancel button to reset the cooking program, then select the Pressure Cook or Manual setting and set the cooking time for 10 minutes at high pressure. (The pot will take about 10 minutes to come up to pressure before the cooking program begins.)
  • When the cooking program ends, you can either perform a quick pressure release by moving the Pressure Release to Venting, or you can let the pressure release naturally and leave the pot on the Keep Warm setting for up to 10 hours.
  • Open the pot and give the meat a stir. Taste for seasoning and add more salt if needed.
  • Using a slotted spoon, spoon the meat onto tortillas or into taco shells. Top with lettuce, cheese, tomatoes, cilantro, and the remaining onion. Serve immediately.
  • Combine the beef bones, celery, carrots, onion, salt, peppercorns, and bay leaf in the Instant Pot. Pour in the water, making sure the pot is no more than two-thirds full.
  • Secure the lid and set the Pressure Release to Sealing. Select the Soup/Broth setting and set the cooking time for 120 minutes at high pressure. (The pot will take about 30 minutes to come up to pressure before the cooking program begins.)
  • When the cooking program ends, let the pressure release naturally; this will take about 45 minutes.
  • Place a wire-mesh strainer over a large heat-safe bowl or pitcher.
  • Open the pot and, wearing heat-resistant mitts, lift out the inner pot and pour the broth into the strainer. Discard the bones and vegetables. You can pick the meat off the bones if you like, but it will have given up most of its flavor to the broth. Pour the broth into a fat separator to remove the fat, or chill the broth in the refrigerator until the fat solidifies on top, then scoop off the fat from the surface with a large spoon. Let the broth cool to room temperature. (To speed the cooling process, set the bowl in a larger bowl containing an ice bath.)
  • The broth can be used right away, stored in an airtight container in the refrigerator for up to 5 days, or frozen for up to 6 months.
Previous Next