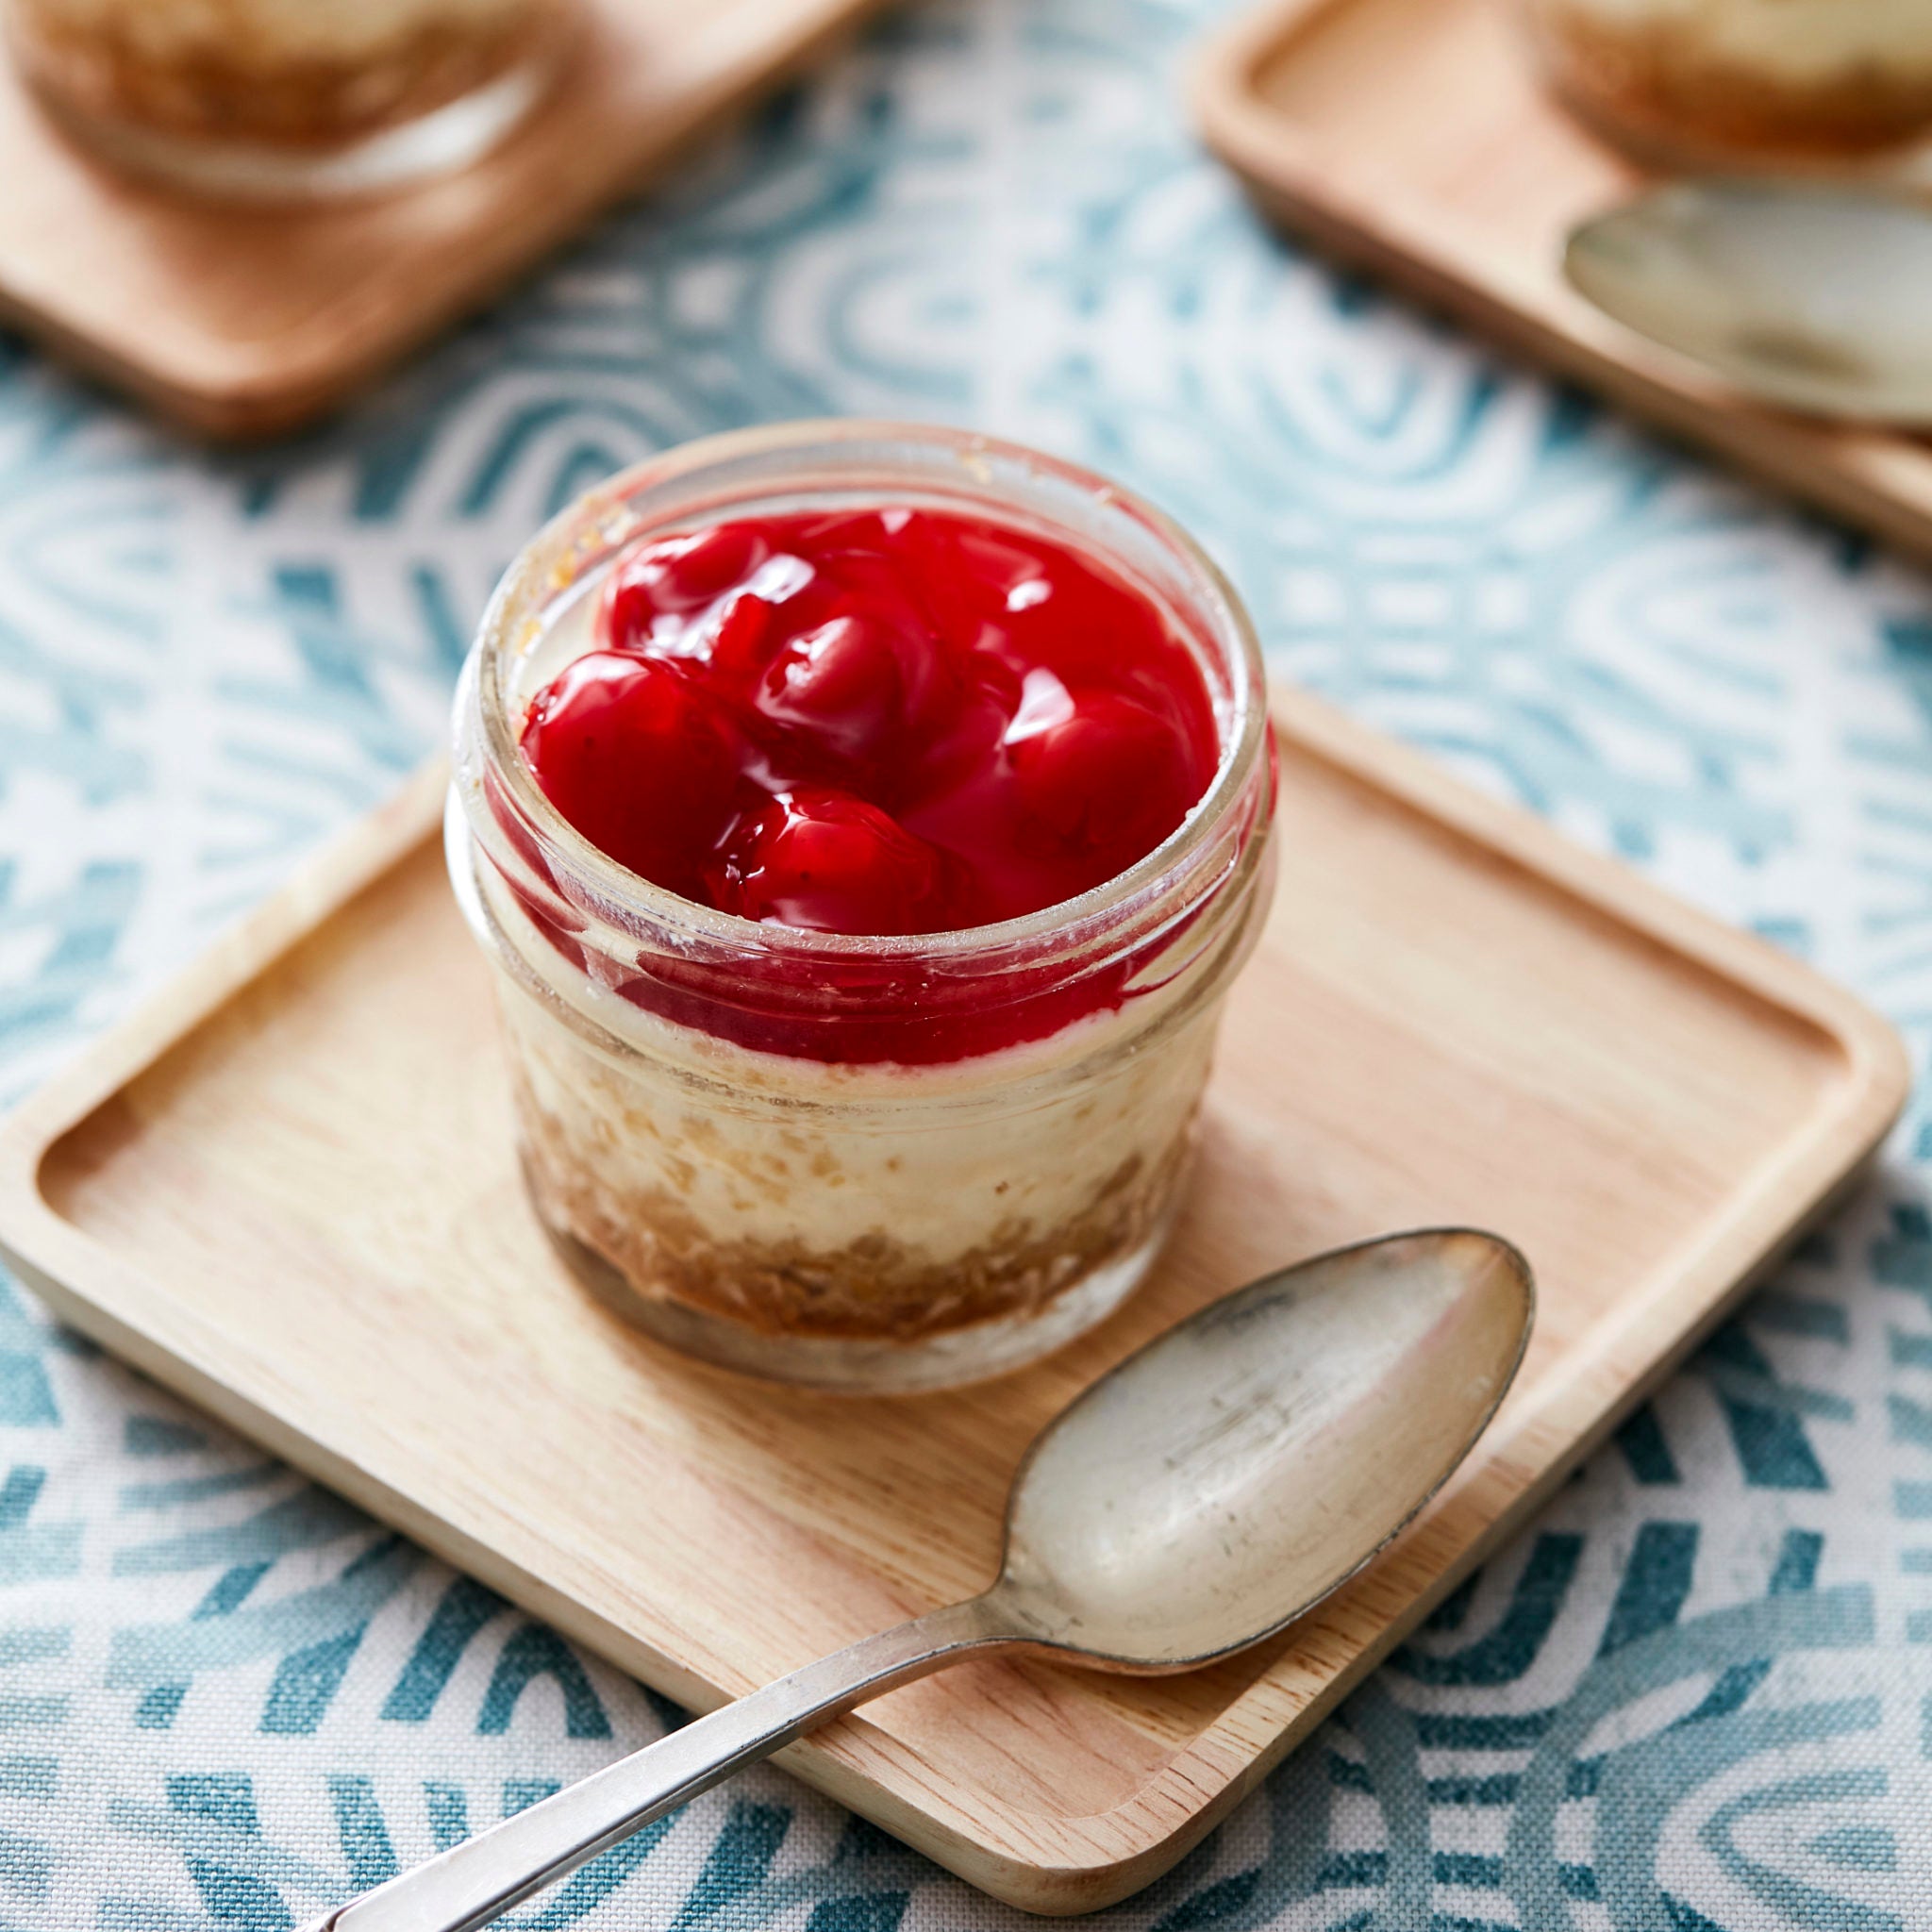
Mini Cheesecakes

By:

Mini Cheesecakes
Make these simple, lemony cheesecakes in 1/2-cup canning jars, then seal them when cool and tote them to picnics and cookouts as a treat after the meal. They’re super festive, guaranteed to bring on the smiles. The only trick is to make an even crust in each jar (or ramekin). Don’t compact the crumbs into a tight mass. Press gently just until they’re an even layer without any loose bits. If you want a gluten-free version, skip the crust entirely, substitute cornstarch for the flour, and make sure you also use gluten-free cream cheese and sour cream.
cuisine icon Cuisine
cuisine icon Difficulty
cuisine icon Duration
cuisine icon Cooking Technique

prep icon Prep Time
10 min
cook icon Cook Time
45 min

serving icon Servings
6 mini cheesecakes
Ingredients
  • 1 1/2 cups Water
  • 3 tbsp butter
  • 2/3 cup graham cracker crumbs
  • 1/2 lb regular cream cheese
  • 1/4 cup granulated white sugar
  • 1 large egg
  • 2 tbsp regular or low-­fat sour cream
  • 2 tsp all-purpose flour
  • 1 tsp finely grated lemon zest
  • 2 tsp lemon juice
  • 1/4 tsp vanilla extract
  • 1/8 tsp table salt
  • six 1/2-cup (4-ounce) pressure-safe ramekins, custard cups, or canning jars
  • a food processor
  • a pressure-safe rack or trivet
Instructions
  • Pour the water into the insert set in a 5-, 6-, or 8-quart Instant Pot. Put a pressure-safe rack or trivet in the insert.
  • Grease the insides of six 1/2-cup (4-ounce) pressure-safe ramekins, custard cups, or canning jars with cold butter, making sure it gets generously down into the joint between the side and the bottom of each.
  • Mix the graham cracker crumbs and melted butter in a small bowl until uniform. Divide this mixture among the prepared ramekins, about 1 1/2 tablespoons per container. Gently press to form an even bottom crust in each.
  • Put the cream cheese, sugar, egg, sour cream, flour, lemon zest, lemon juice, vanilla, and salt in a food processor. Cover and process until smooth, stopping the machine at least once to scrape down the inside of the canister. Divide this mixture evenly among the prepared ramekins, a generous 1/4 cup in each. Do not cover.
  • Stack the ramekins on the rack, placing three on the bottom level, then three on the top level with each sitting on a part of the rim of at least two below. Lock the lid onto the cooker.
  • Set the pot for Pressure Cook or Manual on High Pressure. The valve must be closed. Set the time for 15 minutes with the Keep Warm setting off.
  • When the pot has finished cooking, turn it off and let the pressure return to normal naturally, about 20 minutes. Unlatch the lid and open the cooker. Cool for 5 minutes.
  • Use hot pads or silicone baking mitts to transfer the (still hot!) ramekins to a nearby wire rack. Cool to room temperature, about 1 hour. Cover and refrigerate for at least 1 hour before serving — or up to 3 days.
Notes
  • Other Pots
    • For a 3-quart Instant Pot, you must halve the ingredient amounts (making 3 ramekins).
    • For a 10-quart Instant Pot, you must increase the amount of water in the insert to 21/2 cups while otherwise completing the recipe as stated — or you can use that amount of water and increase the ingredient amounts by 50 percent, making 9 ramekins.
  • Beyond
    • Top each chilled mini cheesecake with 1 tablespoon of your favorite preserves or canned pie filling.
    • Use this recipe to make one 7-inch cheesecake in a 5-, 6-, or 8-quart Instant Pot with four notes: 1) keep the water in the insert at 1 1/2 cups;
    2) use a 7-inch-round springform pan; 3) increase the crust amounts to 1 cup crumbs and 5 tablespoons melted and cooled butter; and 4) double the ingredient amounts for the cheesecake batter. Press the crust into the buttered or sprayed pan for an even bottom and up
    the sides by 1 inch. Cook at HIGH pressure for 25 minutes, followed by a natural release, a 1-hour cooling at room temperature, then a 1-day storage in the refrigerator.
Previous Next