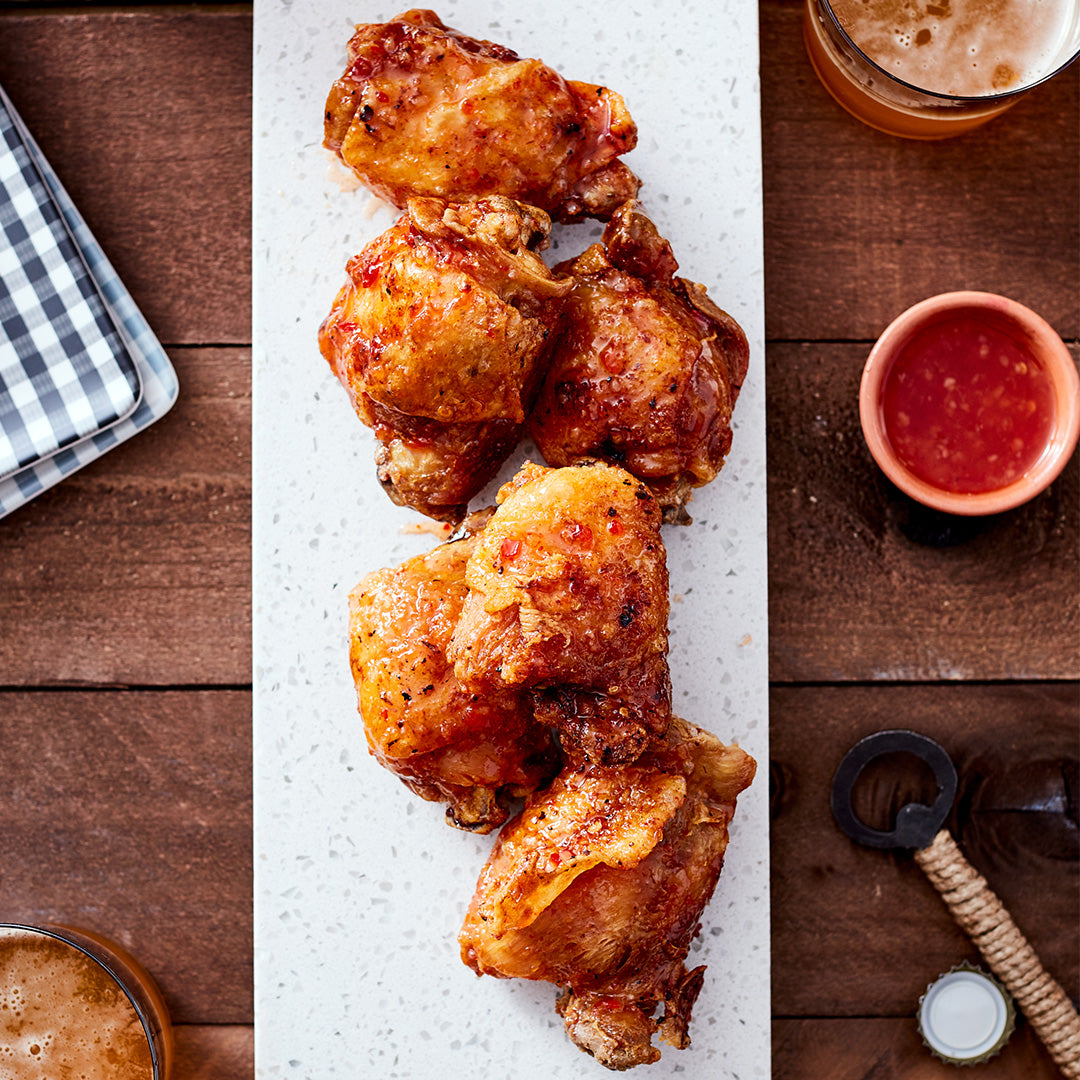
Fried Chicken

By:

Fried Chicken
No, we’re not frying in the pot. And we’re not pressure-frying chicken. The pot’s not built for such measures. Instead, we’re using the pressure in the pot to tenderize the chicken and infuse the flavors into the meat, rendering out a little of the fat to make the thighs even crispier when they eventually hit the hot oil.
After cooking under pressure, we can’t fry them in the pot with the SAUTE function on HIGH or MORE. First, we can only fit two at a time, slowing down the process. But more importantly, since we suggest pan-frying the chicken, rather than deep-frying it, the high-sided pot catches and keeps steam inside the insert, rendering the exposed skin above the oil too gummy.
cuisine icon Cuisine
cuisine icon Difficulty
cuisine icon Duration

prep icon Prep Time
15 min
cook icon Cook Time
15 min

serving icon Servings
6 servings
Ingredients
  • 1 1/2 tsp mild paprika
  • 1 1/2 tsp kosher salt
  • 1 tsp onion powder
  • 1/2 tsp dried sage
  • 1/2 tsp dried thyme
  • 1/2 tsp ground black pepper
  • 1/4 tsp garlic powder
  • 1 1/2 cups Water
  • 6 bone-in, skin-on chicken thighs
  • Peanut oil, vegetable oil, or solid vegetable shortening
Instructions
  • Mix the paprika, salt, onion powder, sage, thyme, pepper, and garlic powder on a large plate until uniform. Pat the chicken thighs dry with paper towels and roll the chicken in this mixture to coat the pieces evenly and thoroughly.
  • Pour the water into the cooker. Set a heat- and pressure-safe trivet in the pot. Stack the thighs on the trivet. Lock the lid onto the cooker.
  • Optional 1 Max Pressure Cooker
    Press Pressure cook on Max pressure for 10 minutes with the Keep Warm setting off.
  • Optional 2 All Pressure Cookers
    Press Steam or Pressure cook (Manual) on High pressure for 15 minutes with the Keep Warm setting off.
  • Use the quick-release method to bring the pot’s pressure back to normal. Unlatch the lid and open the cooker. Line a large lipped baking sheet with paper towels. Use kitchen tongs to transfer the hot thighs to a large, lipped baking sheet. Set aside to dry for at least 20 minutes or up to 1 hour.
  • Set a 12-inch skillet over medium heat. Pour in enough oil to come about 1/2 inch up the sides—or melt enough shortening in the skillet to come to the same depth. Continue heating until the fat shimmers.
  • Slip three of the thighs skin side down into the oil. Fry until golden and crisp, about 10 minutes. Turn and continue frying until golden, crisp, and cooked through, about another 10 minutes. Transfer the thighs to a wire cooling rack and salt as desired. Add enough oil or shortening to get the depth back to 1/2 inch if necessary and wait a moment or two make sure the oil is again hot. Fry the remainder of the thighs in the same way. Serve warm.
Notes
  • Beyond
    • You must halve the recipe for a 3-quart cooker.
    • Pressure-cook the chicken ahead of time. Once the thighs have dried on the baking sheet for 20 minutes, transfer them to a bowl, cover it, and refrigerate for up to 1 day. Bring the thighs to room temperature before frying them.
    • For crunchier skin, put about 1 cup all-purpose flour in a paper bag, add the cooked thighs, seal, and shake to coat them. Transfer them out one by one to the hot skillet, knocking off the excess flour before they get into the oil. Fry as directed.
    • For a Korean-inspired dish, toss the cooked and fried thighs with up to 1/2 cup sweet Thai chili sauce before serving.
Previous Next